Before You Start
The Basics
- Reversions can be entered into the NMS Match System when the system opens for the entry of rankings on January 24, 2024, and must be entered by the Rank Order List deadline at 11:59 p.m. Eastern Time on February 14, 2024.
- Reversions can only be set up between two programs within a residency site, or between Multiple Lists set up for a single program.
- Reversions must be entered and maintained in the NMS Match System by the Donor.
- For reversions involving programs that will submit Multiple Lists for a single program, the Multiple Lists must be set up before the reversions can be entered.
Rules
- A Donor can revert some or all of its unfilled positions. It can also revert unfilled positions to more than one Receiver (example).
- If a Donor will revert unfilled positions to more than one Receiver, you must set up a separate reversion specifying each Receiver. The reversions must be entered in the sequence in which the unfilled positions should be donated.
- Reversions of unfilled positions can be "chained"; for example, List A can revert unfilled positions to List B, and if any positions remain unfilled on List B, then these positions can revert to List C, and so on.
- Reversions cannot be circular, that is, a chain of reversions cannot "loop back" to the beginning. For example, if you add one reversion from List A to List B, another from List B to List C, you cannot also add a reversion from List C back to List A.
- Once a position has been reverted within the matching process it will remain with the Receiver, whether or not it has been successfully filled. This may cause the Receiver program to go into the Post-Match.
Note: entering or modifying a reversion will not change the certification status of a Rank Order List.
If you have questions about reversions, contact NMS.
Add a Reversion
-
From a Donor Program that is Submitting a Single Rank Order List
Step 1
Log into the NMS Match System for the program that will be the Donor.
Step 2
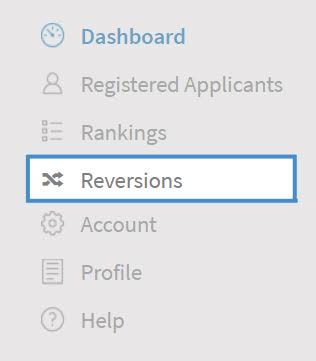
Select the Reversions option from the menu.
Step 3
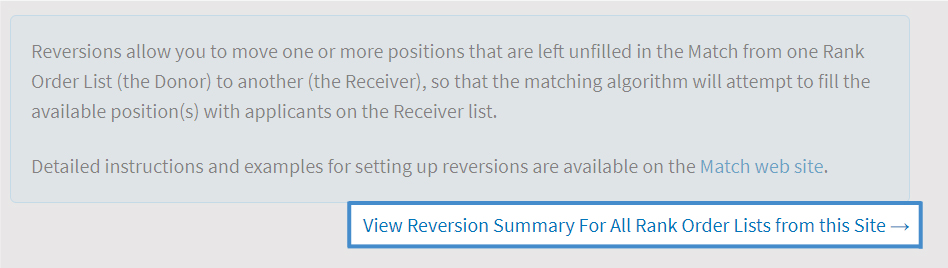
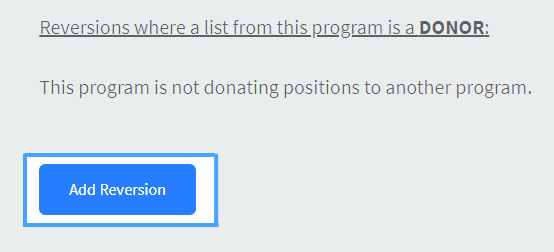
The Reversions page is set up in two sections. The upper section shows all reversions where the selected program is the Donor. The lower section shows all reversions where the selected program is the Receiver. Any position(s) that are reverted from the Donor will remain with the Receiver once the Match is complete.
Select the Add Reversion button in the Donor section.
Step 4
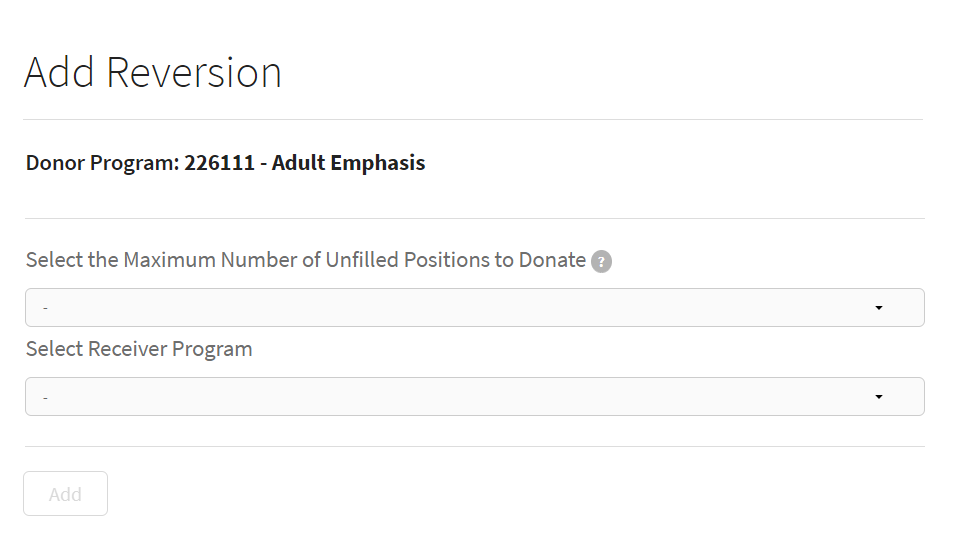
For each reversion you want to add, you must select:
- The Receiver program. If the Receiver program has Multiple Lists, you must select the specific List that will receive the reverted position(s).
- The maximum number of unfilled positions to be reverted from the Donor to the Receiver. If the Donor should revert all unfilled positions to the Receiver, select the option for "ALL". Note: if the Donor may also receive positions from another reversion, any positions received from that reversion are included in the maximum number of positions available to donate (example).
Step 5
Once all options are selected, press the Add button.
-
From a Donor Program that is Submitting Multiple Lists
Make sure you have set up your Multiple Lists before entering reversions.
Step 1
Log into the NMS Match System for the Donor program with the Multiple Lists.
Step 2
Select the Reversions option from the menu.
Step 3
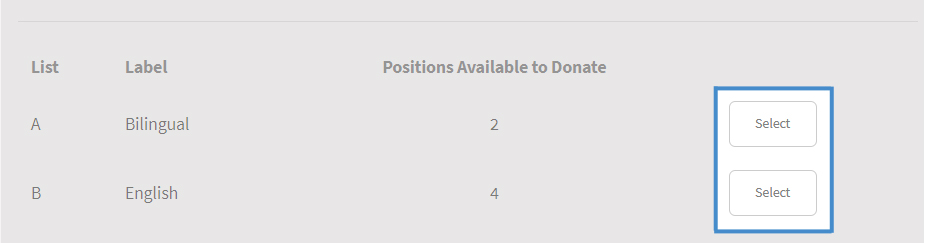
Press the Select button for the List that will be the Donor for the reversion.
Step 4
The Reversions page is set up in two sections. The upper section shows all the reversions where the selected List is the Donor. The lower section shows all the reversions where the selected List is the Receiver. Any position(s) that are reverted from the Donor will remain with the Receiver once the Match is complete.
Select the Add Reversion button in the Donor section.
Step 5
For each reversion you want to add, you must select:
- The Receiver List. The Receiver can be another List for the same program or a List for a different program offered by your residency site.
- The maximum number of unfilled positions to be reverted from the Donor to the Receiver. If the Donor should revert all unfilled positions to the Receiver, select the option for "ALL". Note: if the Donor may also receive positions from another reversion, any positions received from that reversion are included in the maximum number of positions available to donate. (example)
Step 6
Once all options are selected, press the Add button.
Note: Adding a reversion between Multiple Lists for the same program will create a record in both the Donor and Receiver sections of the Reversions page for the program, as Lists belonging to the program are both a Donor and a Receiver.
-
Changing a Reversion
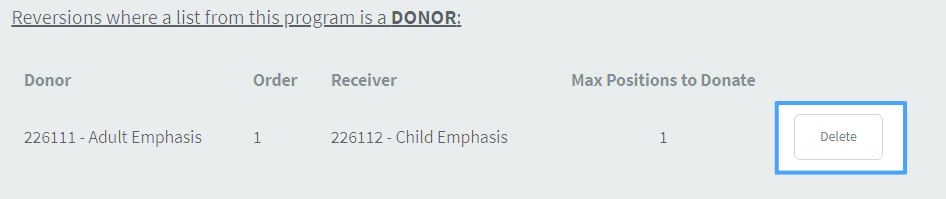
If you need to change a reversion, you must delete the reversion and add a new one. To delete a reversion, press the Delete button to the right of the reversion you wish to delete.
Each reversion added for a Donor is automatically assigned a Sequence Number, starting with 1 for the first reversion from the Donor. If more than one reversion will be set up from the Donor, the reversions must be entered in the exact sequence in which the donations of positions are to occur.
Reversion Summary
The Reversion Summary page shows all reversions that involve programs at your residency site. Once all reversions for your residency site have been entered, you should print a copy of the Reversion Summary for your records. The Reversion Summary page will be available from January 24, 2024 until 11:59 p.m. February 25, 2024, however you will not be able to make any changes to reversions after the Rank Order List deadline.